
The supplies for the first day were:
- thick watercolor paper (about 9 x 12 ish)
- artist's tape (less sticky then masking tape so won't tear the paper when you remove it) - I had some thin rolls which was nice, but thick would be fine too.
- crayons
- liquid watercolor or watered down tempera paint in a variety of colors.
- paint brushes
Steps for the first day were:
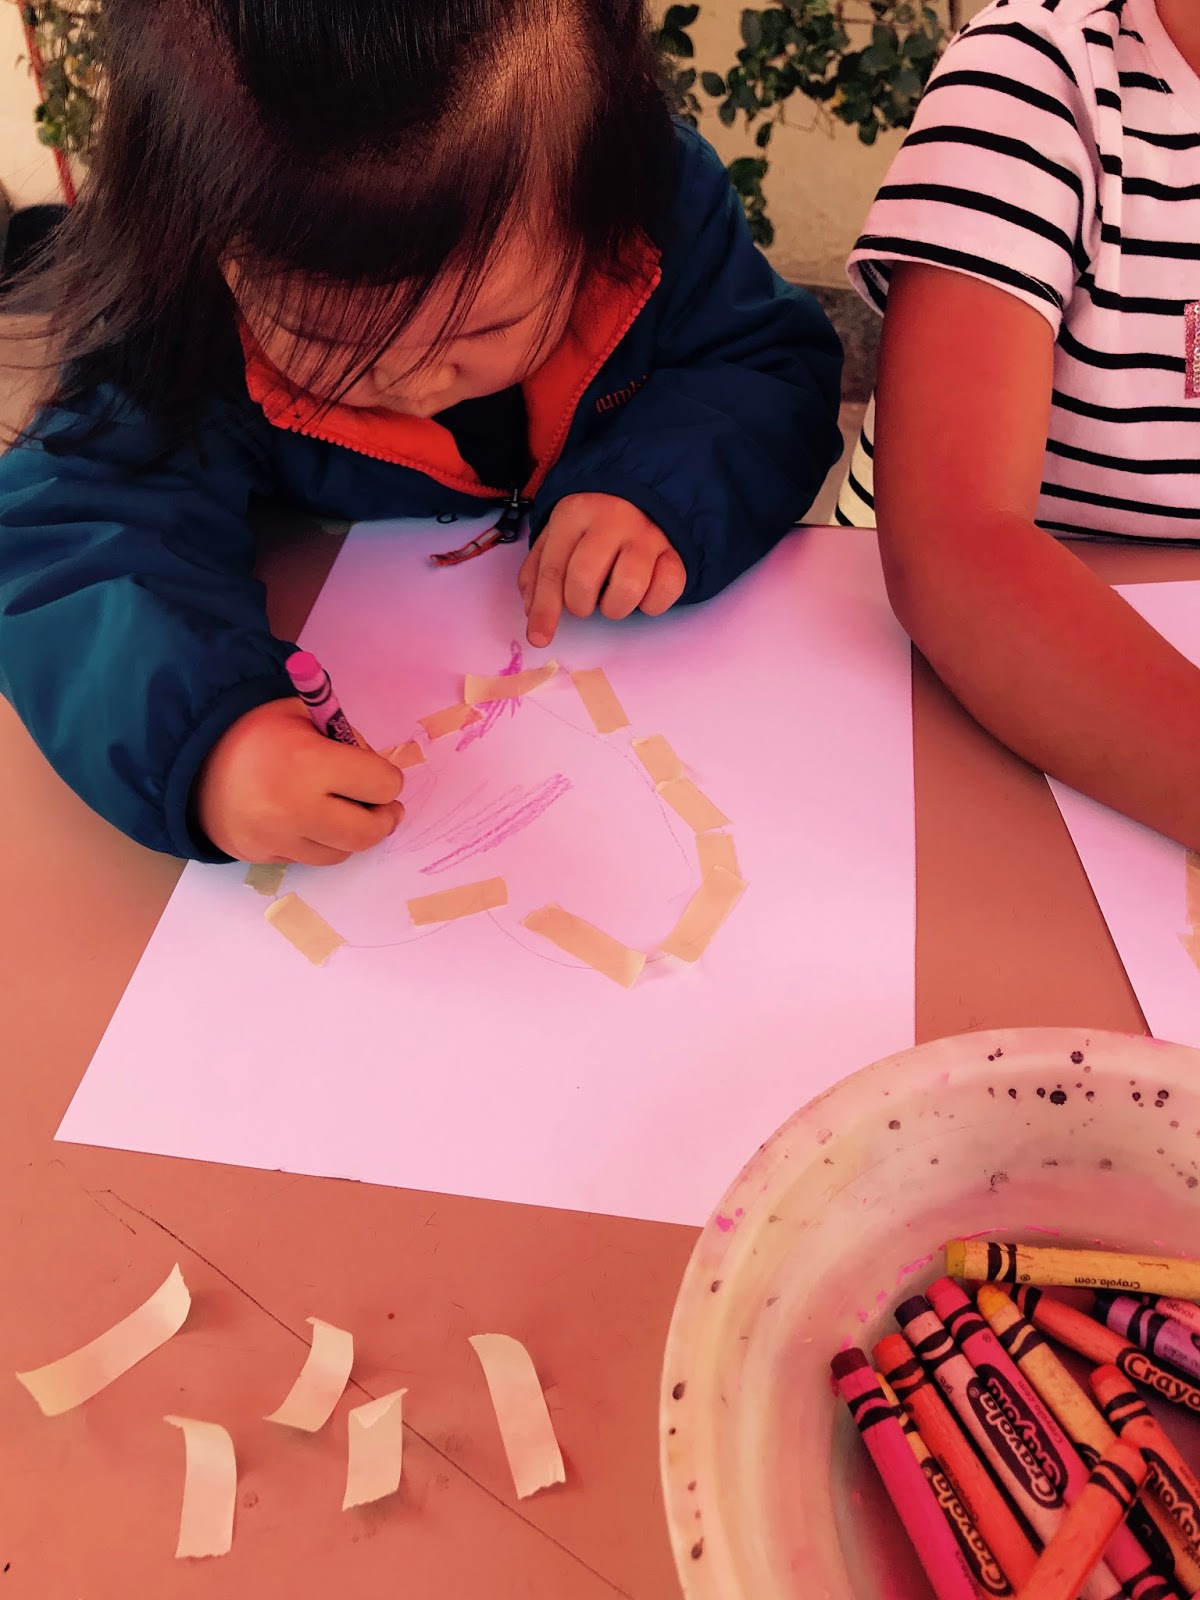
1. Before I handed out the paper I drew a heart on each one very lightly with a pencil so that it could be erased easily later. I tried to make each one a little different in size and/or placement on the paper so that every child's artwork would start with an original beginning.

2. Each child was given pieces of artist's tape and I showed them how to cover up the pencil line by placing the tape over it to make the heart shape.

3. Next they got crayons and were encouraged to color in how much or how little of the paper that they wanted to.

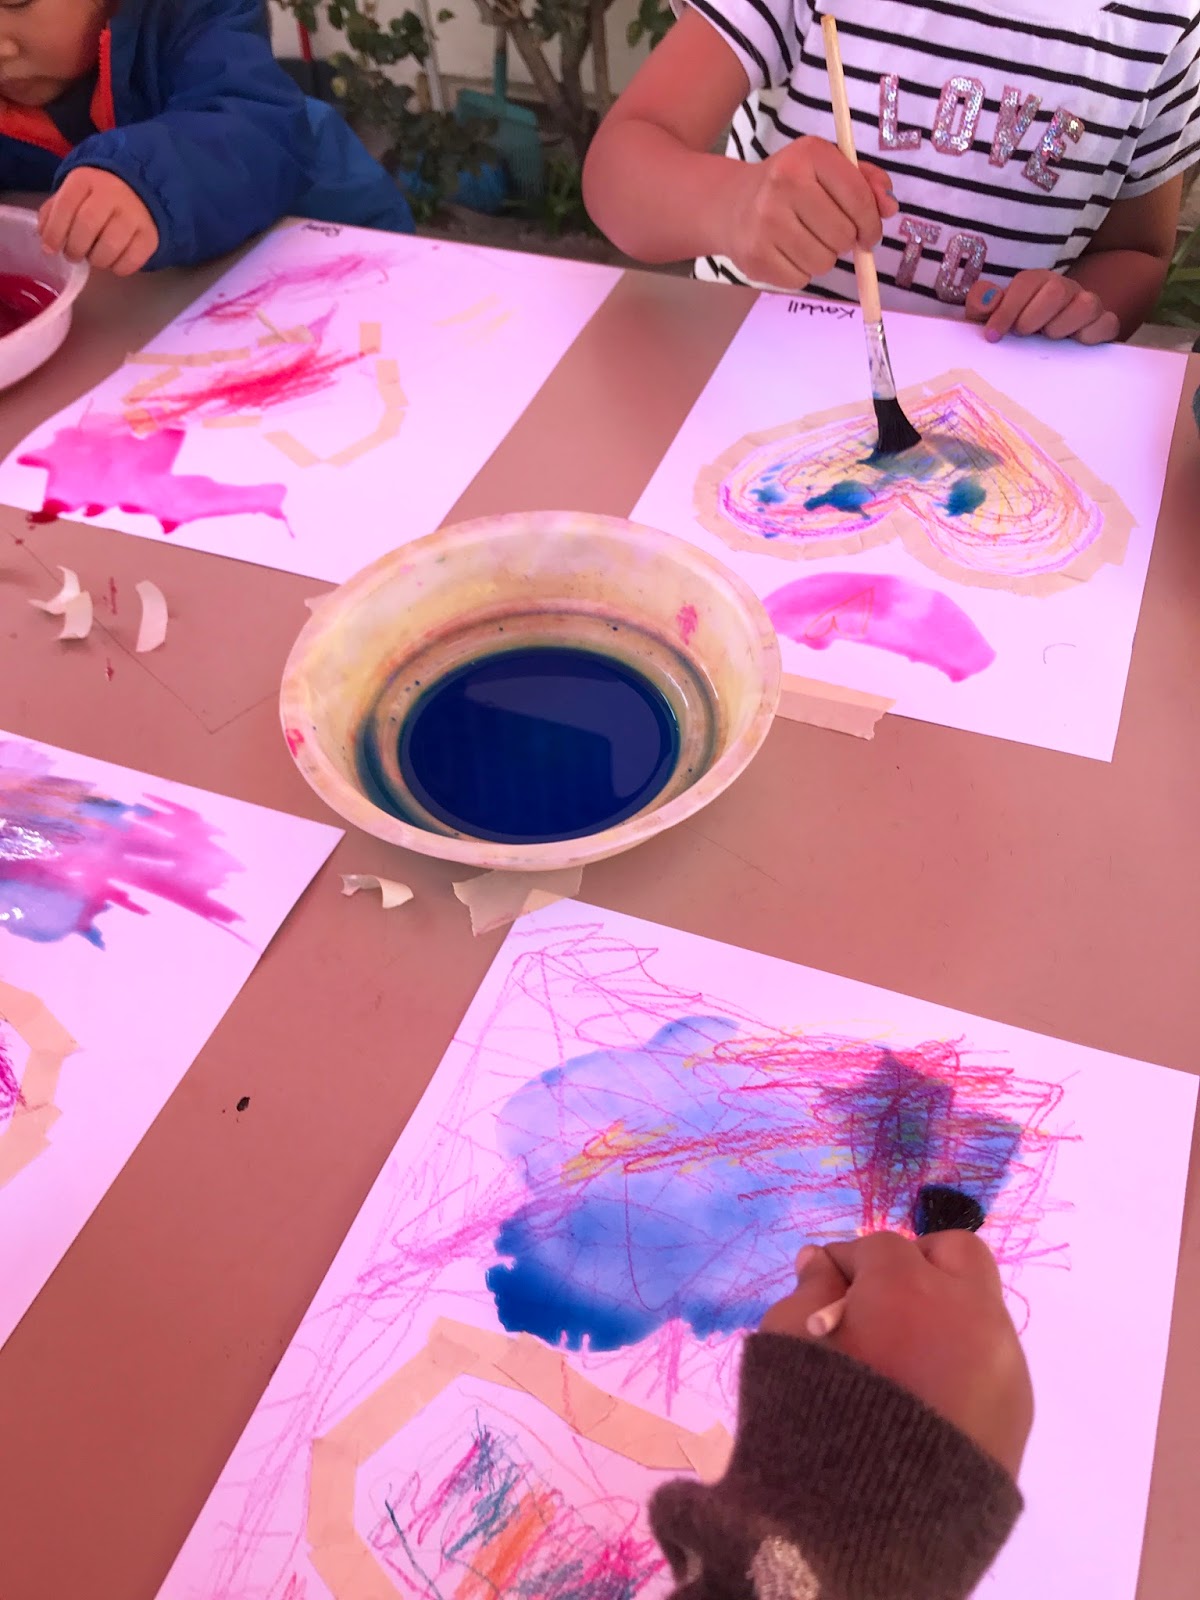
4. Finally, the paint and brushes came out and this time I encouraged them to paint their whole paper, especially over the tape.

4. Finally, the paint and brushes came out and this time I encouraged them to paint their whole paper, especially over the tape.


 |
| Sharing is caring! |
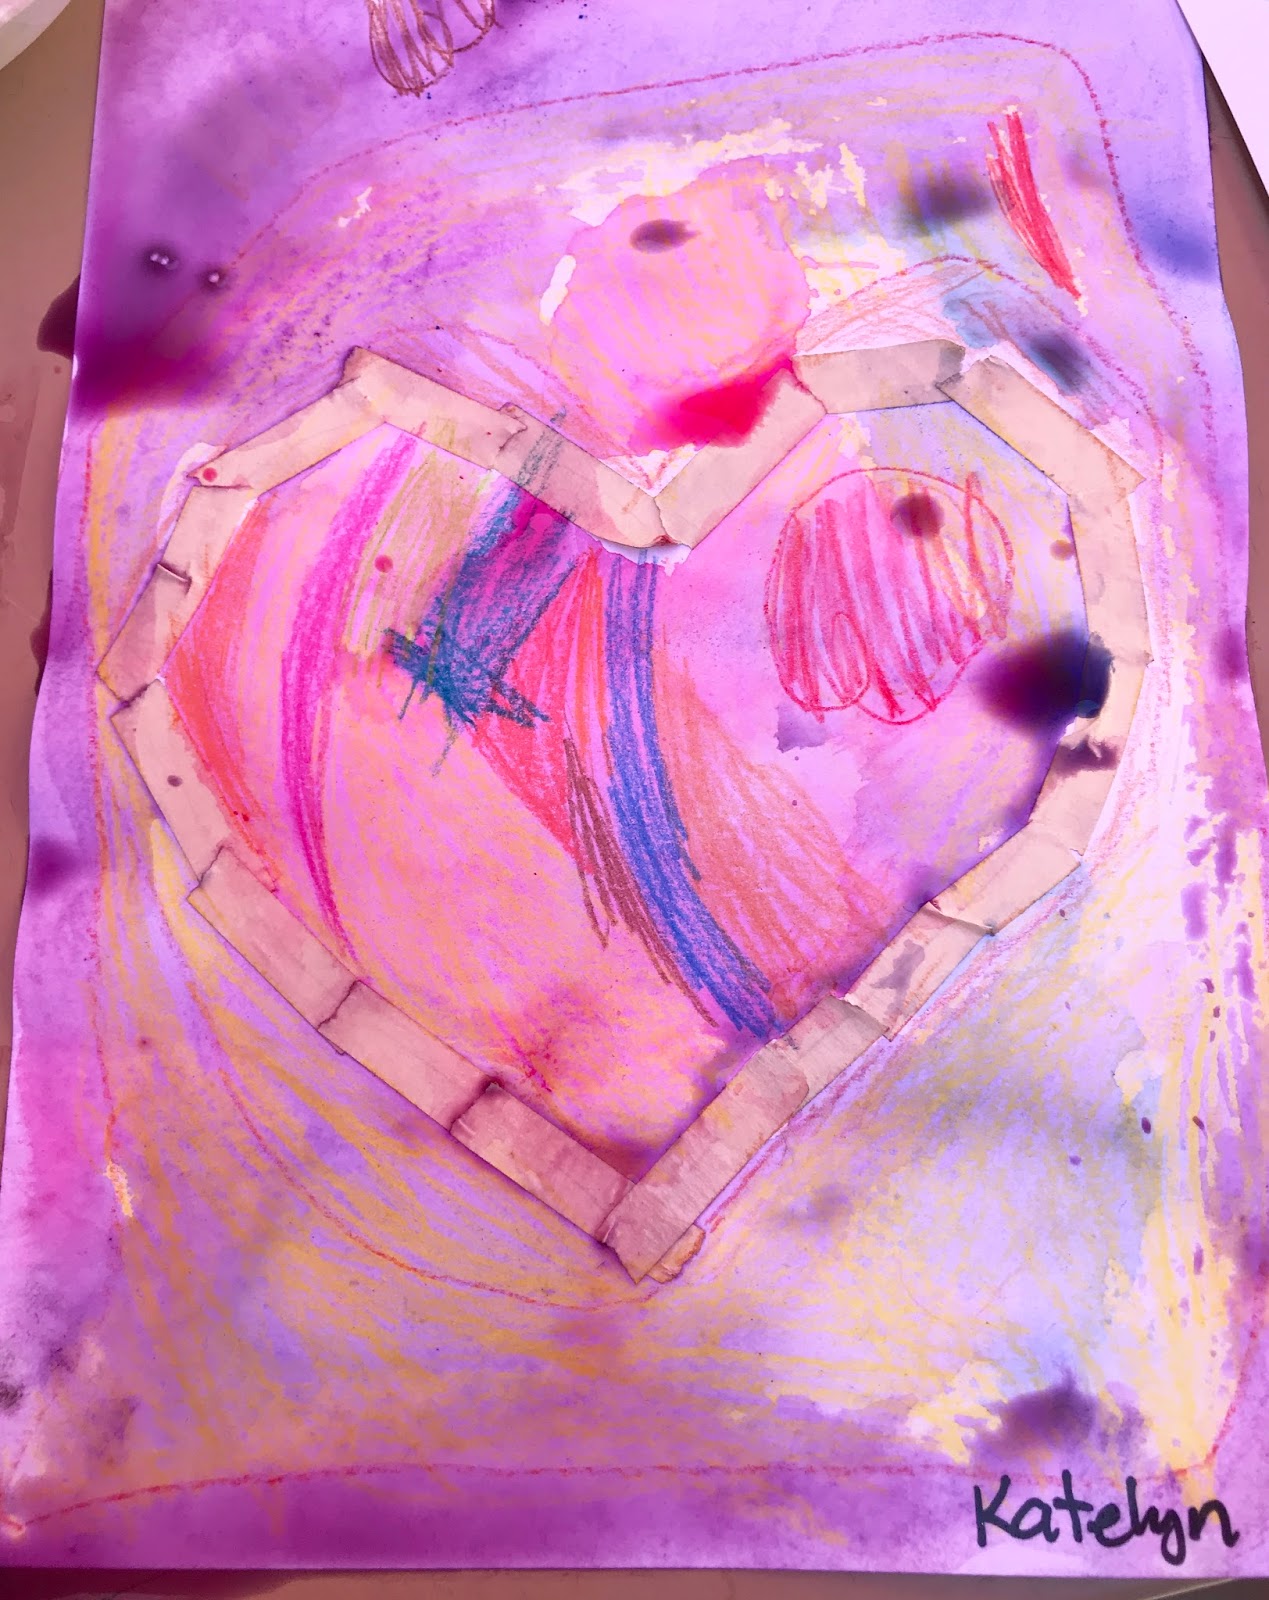
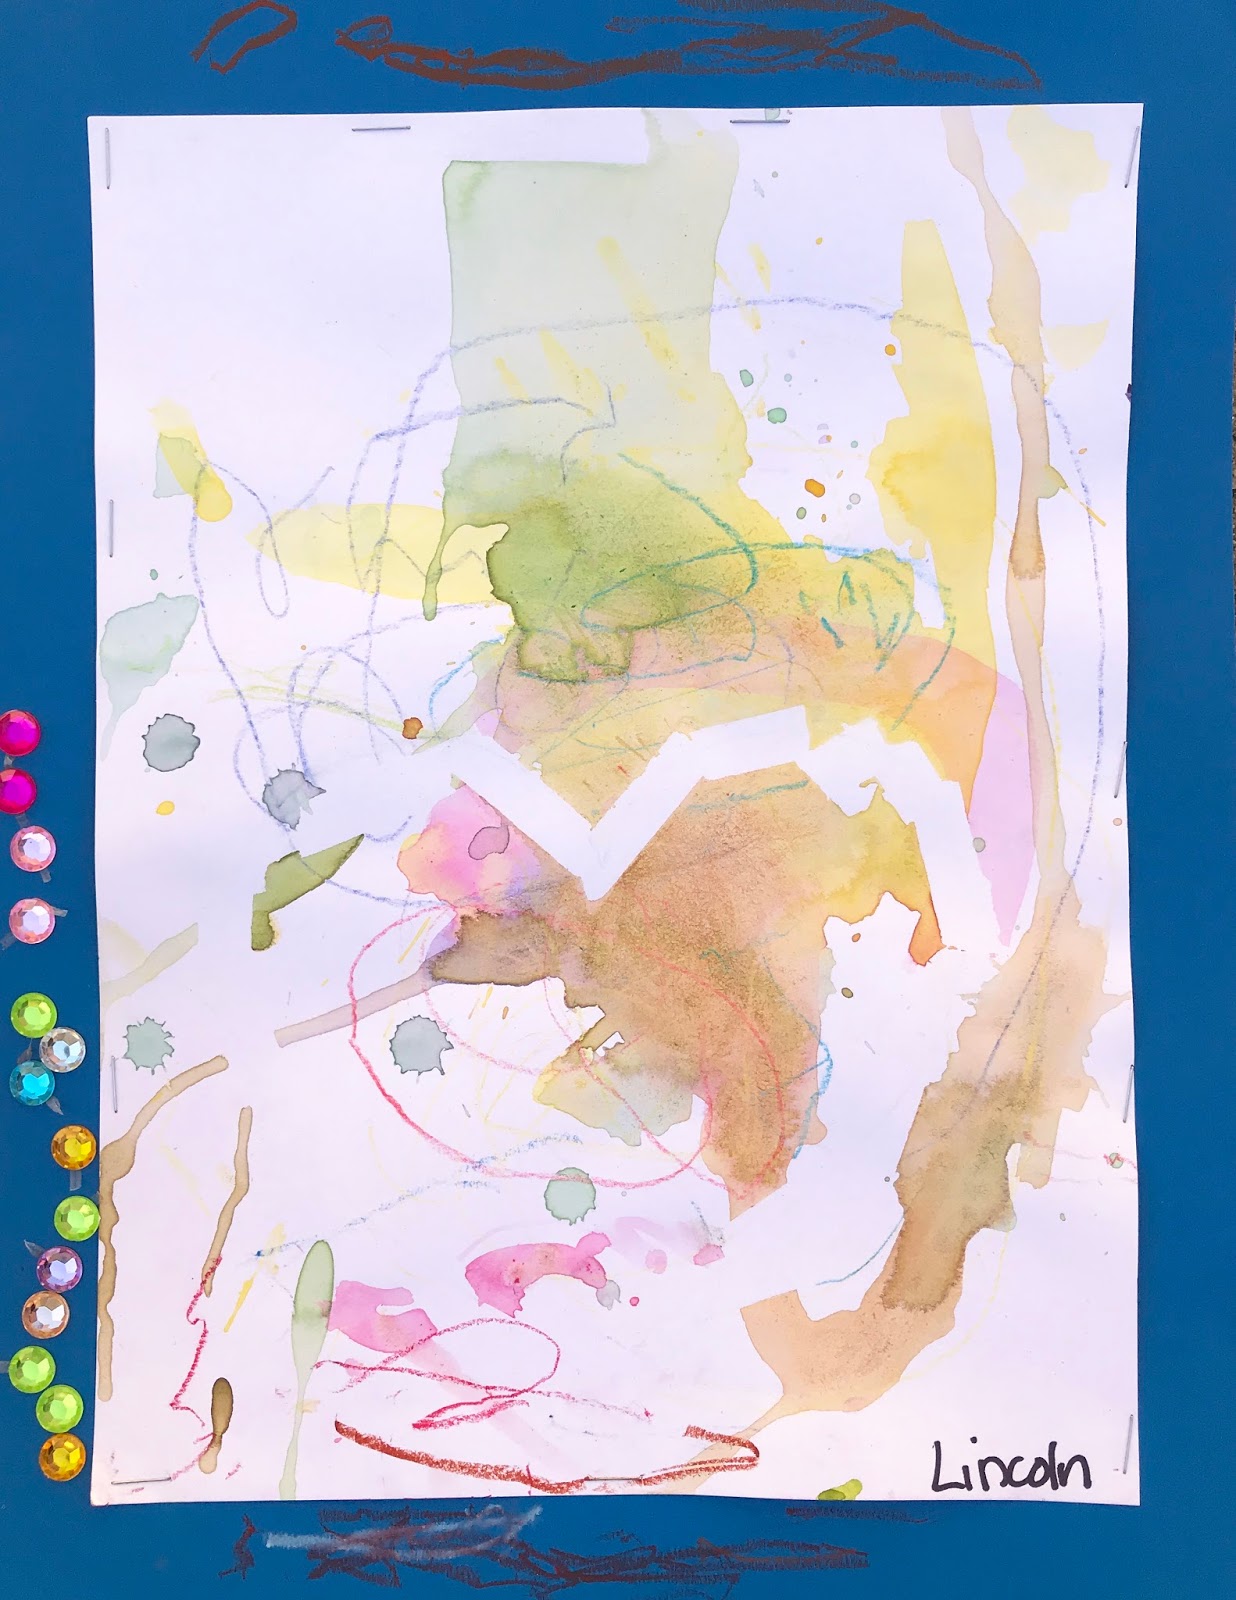
Here are a few after the first day...


The second day the supplies were:
- Poster board cut so that they could be placed on them as frames with about an inch showing around each side. I bought a variety of colors from the dollar store and cut them up to the appropriate size. Children got to choose which frame color they felt looked the best with their artwork.
- Oil pastels
- a stapler
- stick on gems from the dollar store
Steps for day 2 were:
1. Children peeled off the tape from their artwork - revealing a white heart underneath - an exciting moment!


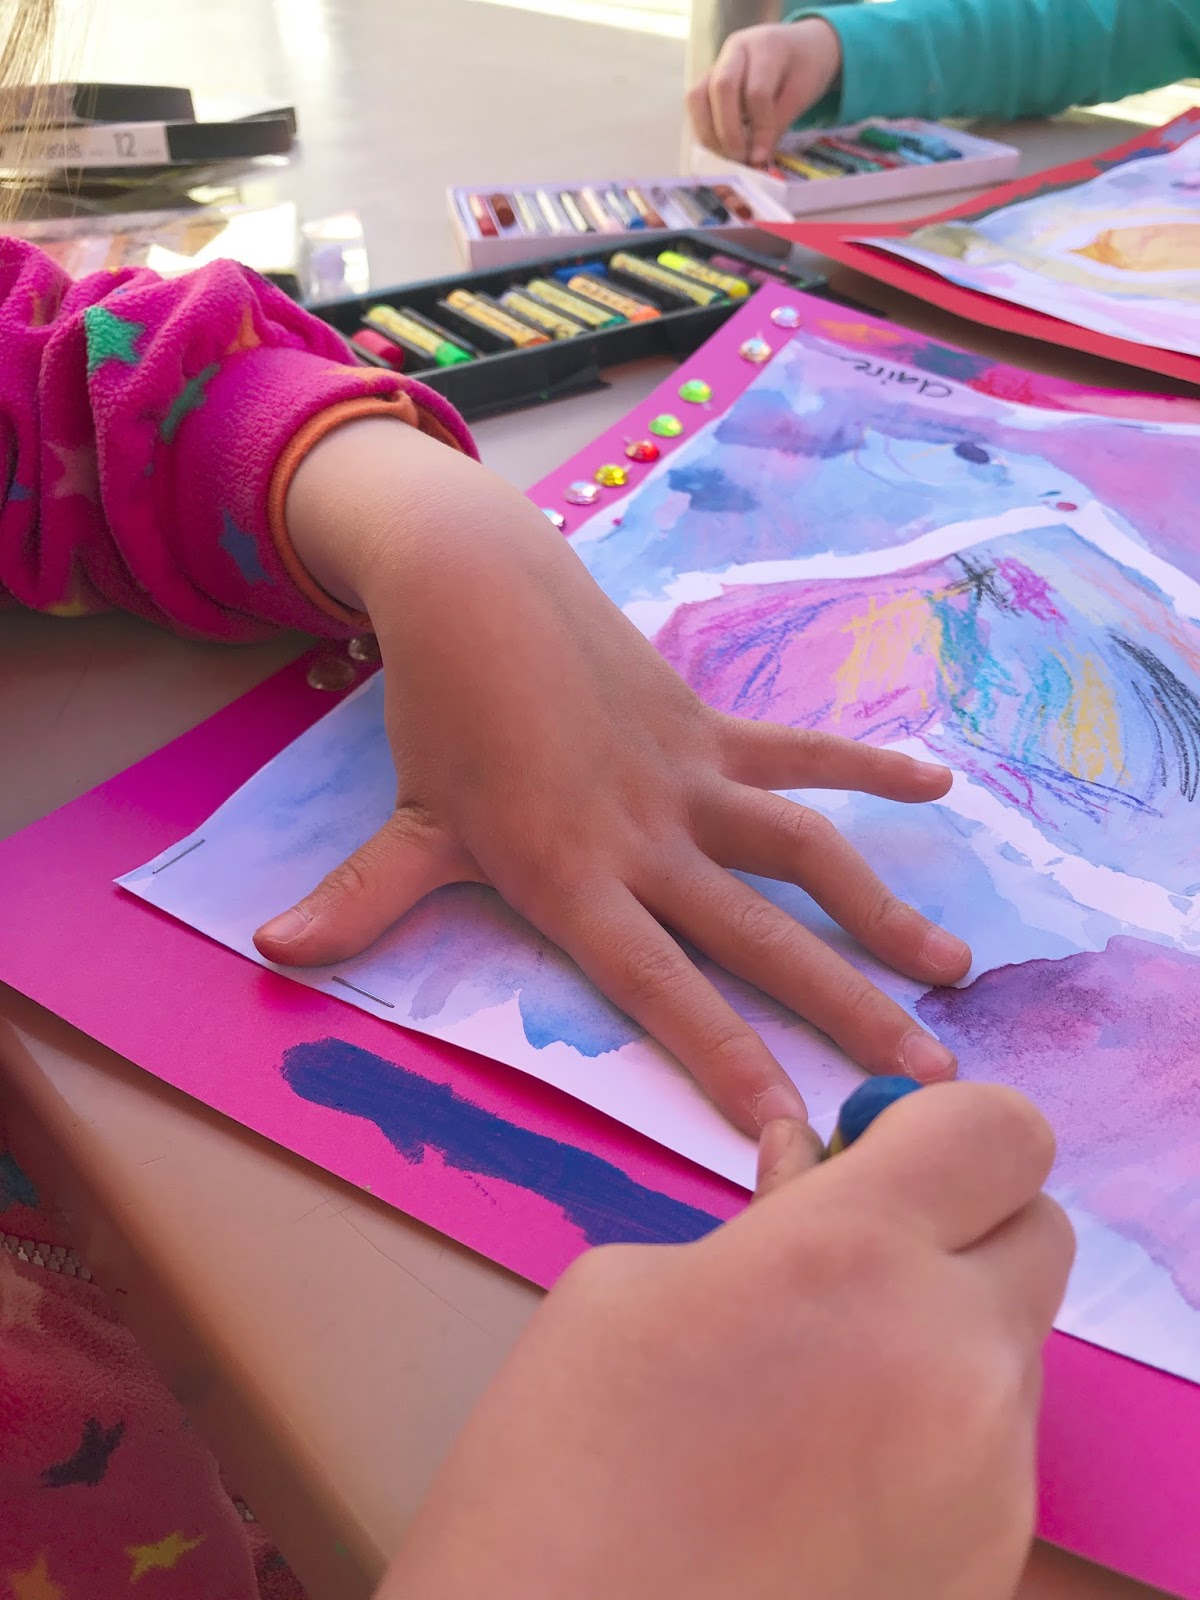
2. Next, they chose a color for their frame background and I stapled them down to the poster board.
3. Finally, they decorated the frame with oil pastels and stick on gems. So much fun and they turned out really beautiful!


Please do let me know if you try this project, I would love to see your students' finished work! Here are some of the lambies final pieces:


No comments:
Post a Comment